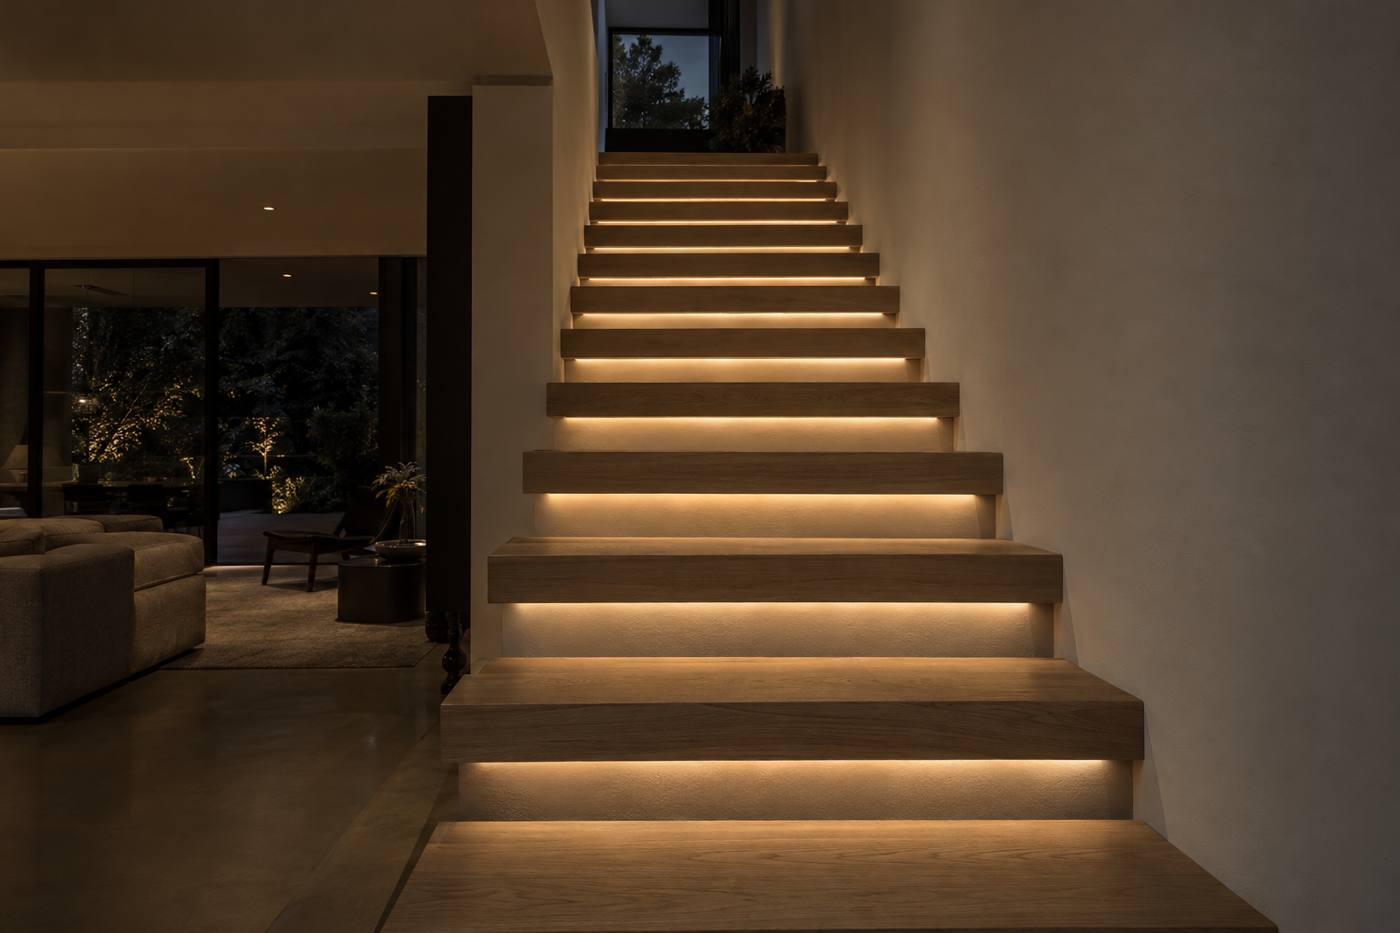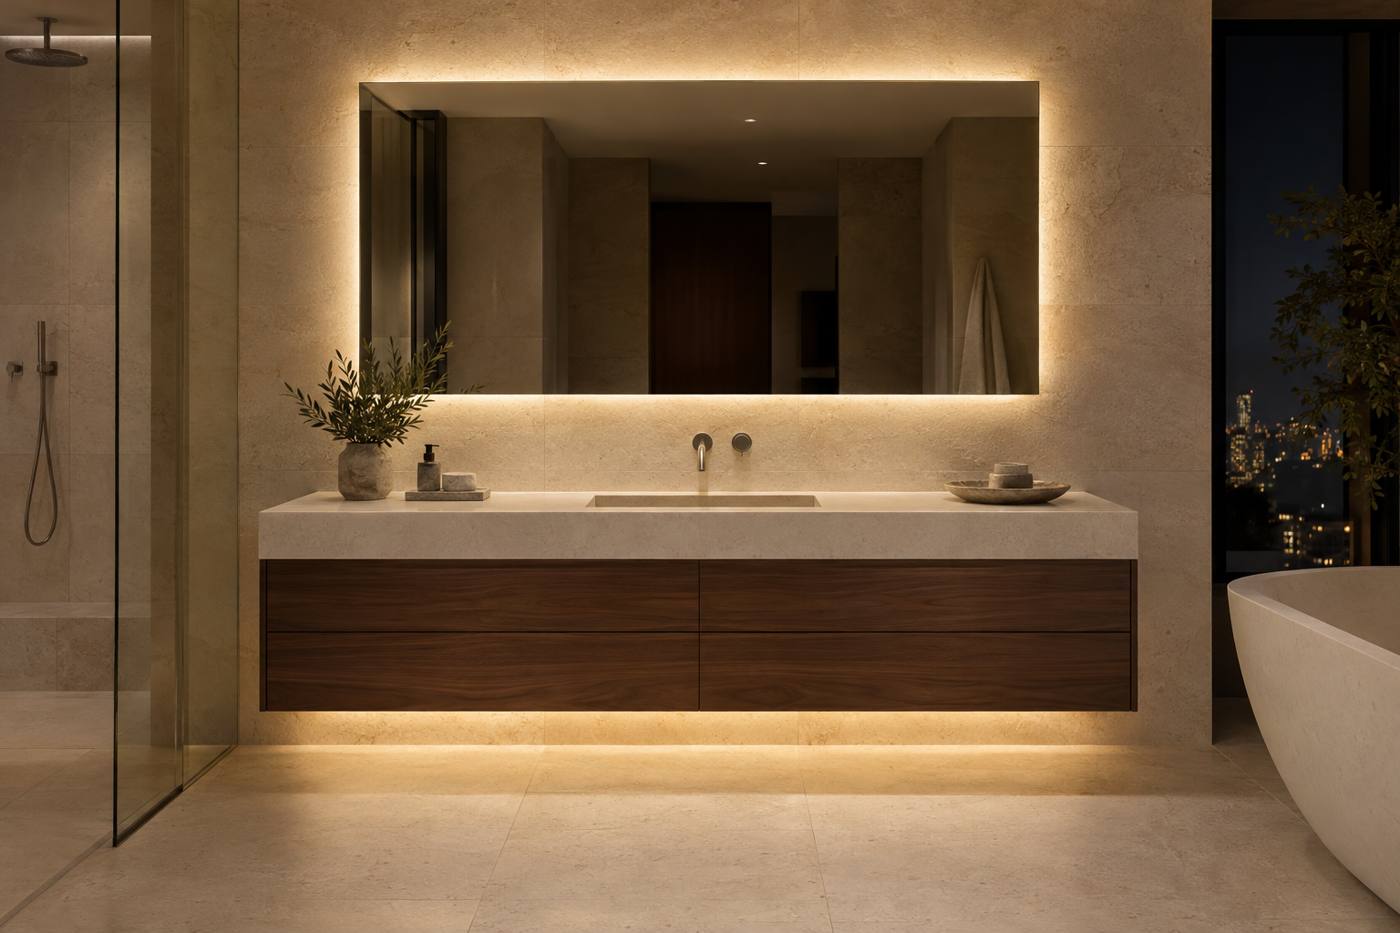
The goal of most linear details is simple: a line of light so even you can't tell it's made of individual LEDs. Achieving that depends on three things working together: how closely the LEDs are spaced, how far they sit behind the lens, and what the lens is made of.
What causes dotting
Each LED is a small, bright point. When a lens sits too close to the LEDs, or diffuses too little, those points show through as a row of hot spots, often called dotting or scalloping. It is most obvious when the lens is in direct view, and when light grazes a glossy surface such as a polished stone backsplash or a lacquered panel.
The three variables
1. LED pitch
The closer the LEDs, the less work the lens has to do. High-density tape at 54–73 LEDs per foot, or COB tape with a continuous phosphor line, produces a smooth, low-hotspot line even in compact channels.
2. Cavity depth
Light from neighboring LEDs needs distance to overlap before it hits the lens. The deeper the channel relative to the LED pitch, the more the beams blend. Shallow, low-profile channels are useful where space is tight, but they need denser tape and stronger diffusion.
3. Lens type
| Lens | Look | Trade-off | Best for |
|---|---|---|---|
| Clear | Maximum output; LEDs visible | Dots show in direct view | Hidden coves, indirect details out of sight |
| Frosted / satin | Softened, mostly even | Some output loss | Under-cabinet, shelving, semi-concealed details |
| Opal | Fully diffused, uniform glow | Most output loss | Exposed lines, recessed and trimless details in view |
Choosing a channel
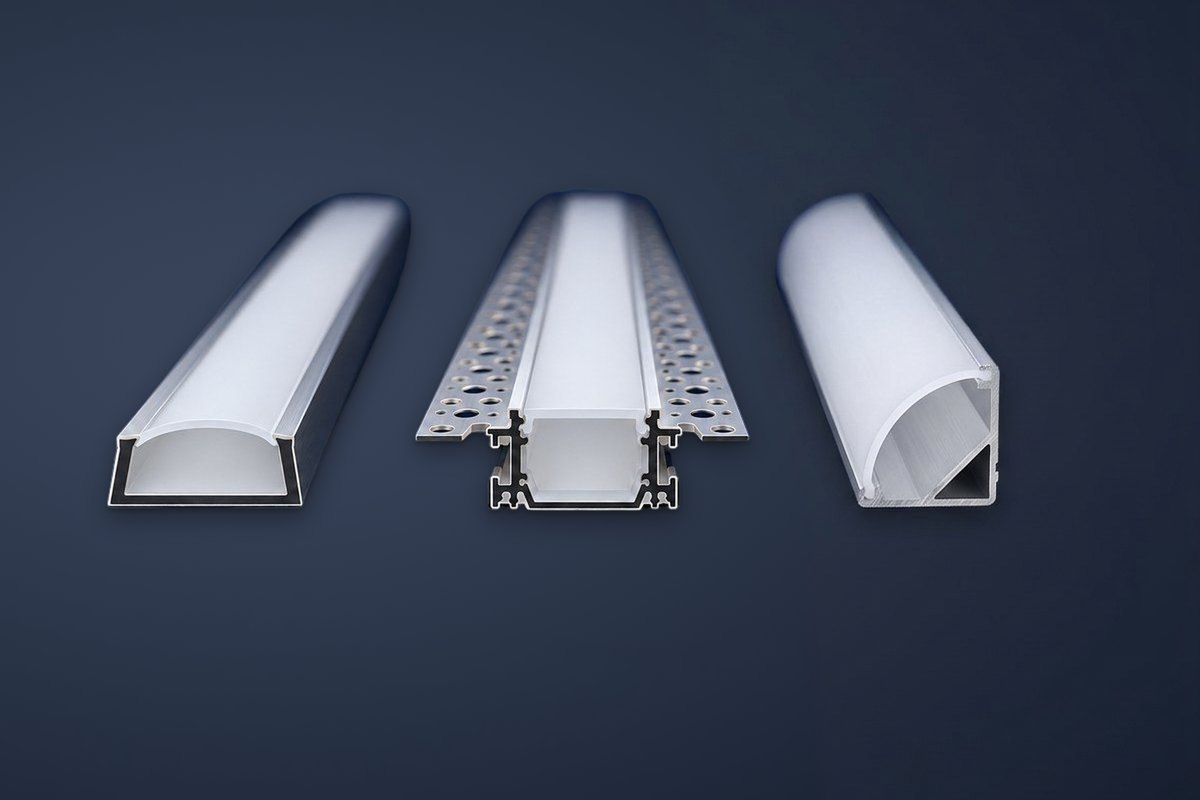
- Surface: the simplest option for millwork, shelving and under-cabinet, where the channel itself is hidden or reads as a slim line. See FLC-S.
- Recessed with flange: a flange covers the cut edge in drywall or millwork for a crisp flush line. See FLC-R.
- Trimless / plaster-in: finished into the drywall so only the line of light remains. See FLC-T.
- Corner: a 45° profile that aims light across a surface from an inside corner. See FLC-C.
Channels do more than look good
Aluminum channels also work as heat sinks, pulling heat away from the tape and helping preserve its output and life. A channel protects the tape from dust and touch, keeps it straight, and gives the installer a true line to work to. For any visible or high-output run, a channel isn't an accessory. It is part of the fixture.
Key takeaways
- Dotting comes from LED pitch, cavity depth and lens type together.
- High-density or COB tape gives a head start.
- Clear for hidden details, frosted for semi-concealed, opal for lines in view.
- Channels also manage heat and protect the tape; mock up visible details.