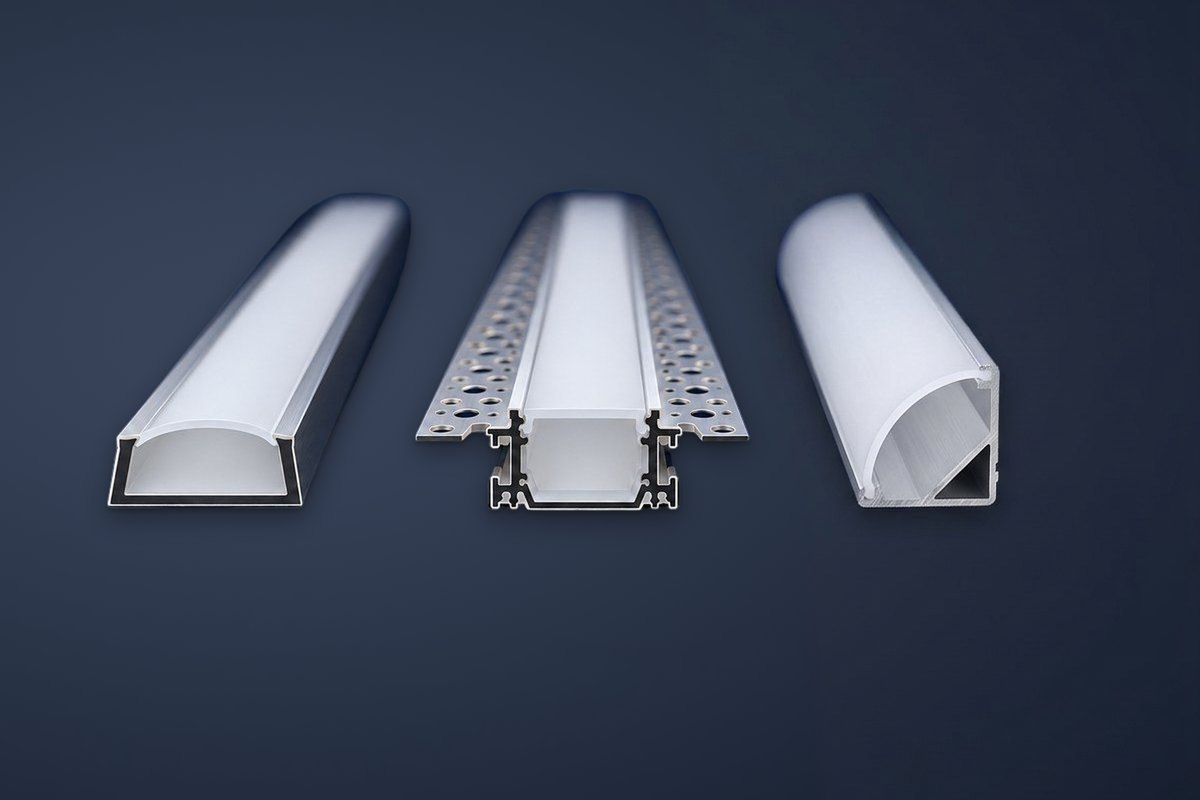
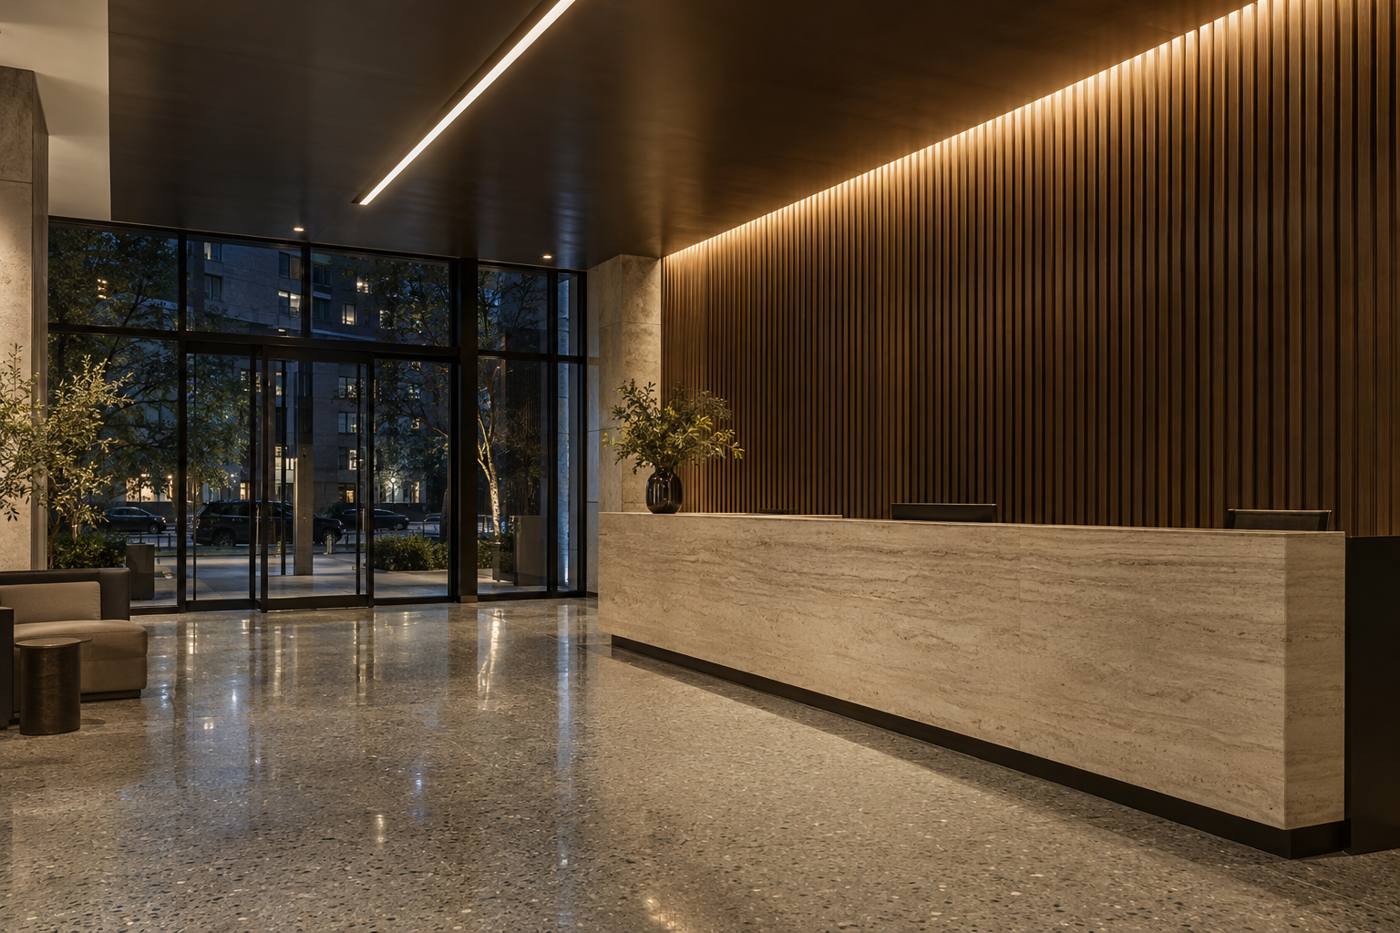
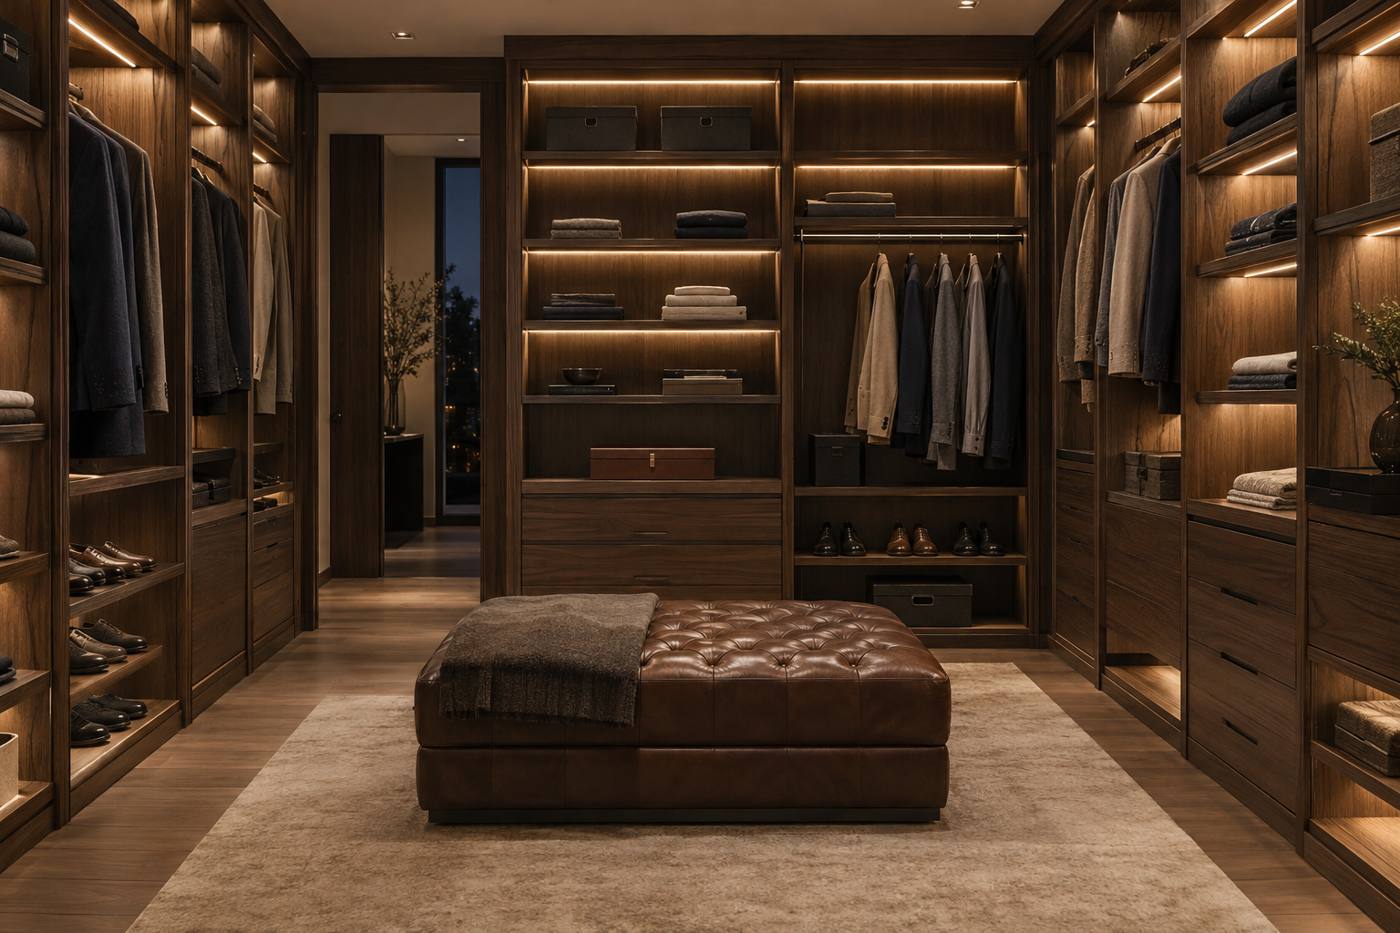
The best linear lighting is felt more than seen: a ceiling that seems to float, a countertop lit without shadows, a stair you can climb in the dark without thinking about it. The source disappears and the light remains. These are the details that get it right in the three places tape light is used most.
Coves
- Give the light room to spread. The ceiling clearance above the cove sets how far the light can travel before it lands. A tight gap produces a hot band right above the cove; more distance gives a softer, more even wash. 12 inches or more is a good starting point where the space allows.
- Set the tape back from the lip. Mounting the tape toward the back of the cove, aimed up and slightly out, pushes light across the ceiling instead of piling it up at the edge.
- Hide the source. The cove lip should be just high enough to block a direct view of the tape from every normal viewing position. Check from the far side of the room, and from stairs or balconies above.
- Keep corners continuous. Carry the tape tight into inside and outside corners so the wash doesn't break. Plan feed points so joints don't fall at the most visible spot.
- Paint matters. A matte, light ceiling finish gives the smoothest wash. Gloss paint shows every streak and reflection.
Under-cabinet
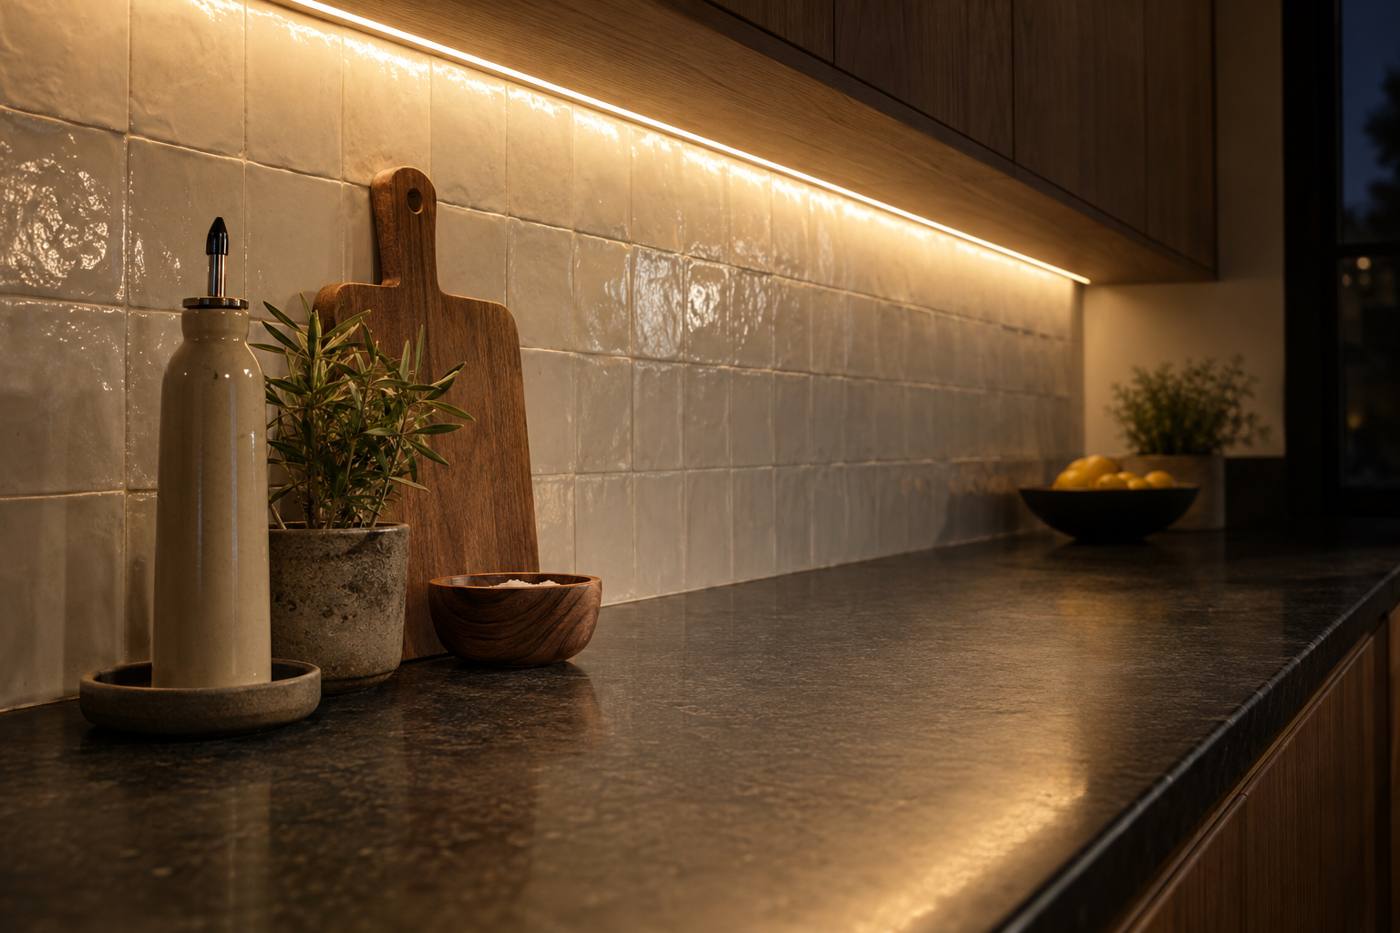
- Mount toward the front. Place the channel in the front third of the cabinet underside, just behind the face frame or light rail. Light then falls on the work surface in front of the person, not behind their hands.
- Angle toward the backsplash. An angled or 45° channel washes the backsplash and lights the counter at the same time.
- Diffuse for glossy counters. Polished stone and quartz act like mirrors. A frosted or opal lens prevents a row of reflected dots.
- Run it continuous. Bridge cabinet gaps with jumpers so the line of light is unbroken. Leave room around range hoods and appliances.
- Hide the driver, but keep it reachable. Above the cabinets or in an accessible base cabinet, never sealed inside a finished cavity.
Stairs
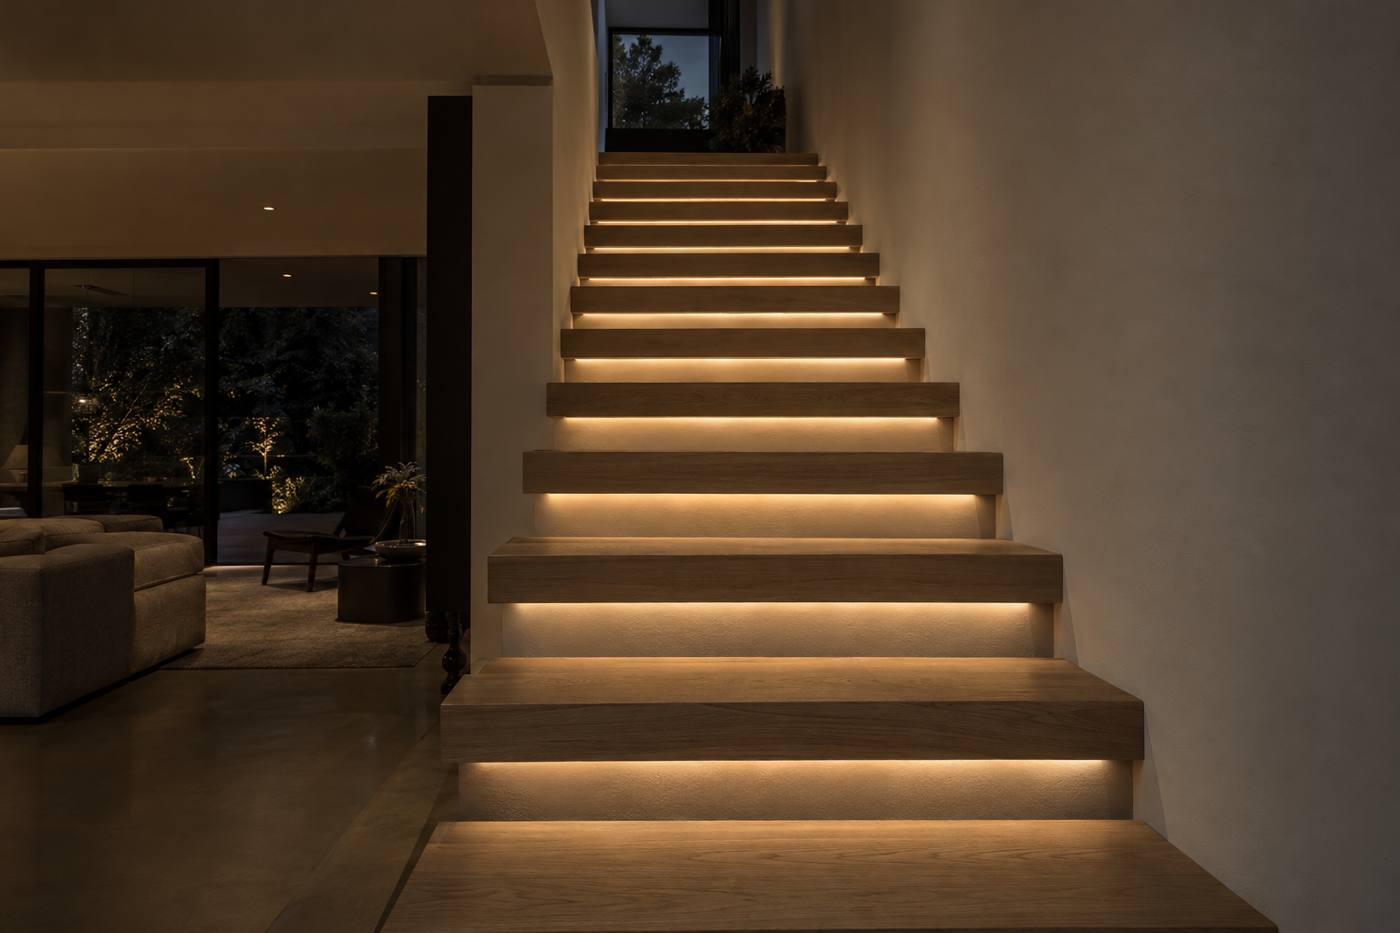
- Light the tread, not the eyes. Tape tucked under each nosing, or recessed into the wall or stringer just above the treads, puts light where feet go and keeps the source out of view for someone walking down.
- Use a recessed channel with a lens. Stairs see shoes, cleaning and vacuums. A channel protects the tape and gives a crisp, finished line.
- Keep it even. Equal lengths, the same mounting height and the same CCT on every step. Any variation stands out on a repeating element.
- Plan controls. Low night-level dimming or occupancy control works well on stairs. Follow the applicable code for any stair lighting that is part of required egress illumination.
Key takeaways
- Coves: ceiling clearance, tape set back from the lip, sightlines checked from every angle.
- Under-cabinet: front third, aimed back, diffused for glossy counters.
- Stairs: light the tread, keep the source out of the descending view, keep every step identical.
- Mock up visible details with the real finishes.